OpenID Connect (OIDC) Authentication
The OIDC authentication module protects WUD using the standard OpenID Connect (OIDC) protocol. Because it conforms to standard OIDC discovery and OAuth 2.0 specifications, WUD is compatible with any OpenID Connect compliant identity provider (IdP).
Supported Identity Providers
WUD supports any compliant OpenID Connect Identity Provider. Step-by-step guides are provided below for the most popular systems:
- Keycloak (Self-hosted & Cloud)
- Authentik (Self-hosted)
- Authelia (Self-hosted)
- Okta (Cloud IAM)
- Auth0 (Cloud IAM)
- Other Providers (Google, Microsoft Entra ID, GitLab, Zitadel...)
Variables
Client ID
Client Secret
OpenID Connect discovery URL
Identity provider group or role name that grants WUD admin (Administrator) privileges upon login
Default role assigned to authenticated users who do not match any configured group. Set to none to strictly deny access and reject logins for users who do not belong to any authorized group
Claim in ID token / userinfo containing the user's groups or roles array
Skip internal login page and automatically redirect to this OIDC provider (note: when only a single OIDC provider is configured without Basic auth, WUD automatically redirects to it by default)
Identity provider group or role name that grants WUD ro (Read-Only) privileges upon login
Identity provider group or role name that grants WUD rw (Read / Write) privileges upon login
OpenID Connect scopes to request during authorization flow. Automatically appends groups when ADMINGROUP, RWGROUP, or ROGROUP is configured unless overridden.
Timeout (in ms) when calling the OIDC provider
Cache TTL (in minutes) for OIDC discovery metadata; use -1 for unlimited validity
User claim to use as the username
When a user logs in through OIDC, WUD automatically creates an account in the internal database.
- If group mapping is configured (
ADMINGROUP,RWGROUP,ROGROUP), the user's role is automatically synchronized with their IDP groups on each login (grantingadmin,rw, orro). - If a user does not match any configured group, their role falls back to
DEFAULTROLE(roby default). - When
DEFAULTROLE=none, access is strictly locked down: any user not belonging to at least one authorized group (ADMINGROUP,RWGROUP, orROGROUP) is denied access and redirected to login with an error notification.
If you define WUD_AUTH_OIDC_{name}_ADMINGROUP, you do not need to configure any local administrator (WUD_AUTH_ADMIN_USER / WUD_AUTH_ADMIN_PASSWORD).
WUD's startup verification recognizes that your Identity Provider provides administrative users, allowing the container to start cleanly without local credentials. When a user in the admin group logs in via OIDC for the first time, WUD automatically provisions their account and grants them full admin permissions. This enables a 100% SSO-driven, zero-local-credentials deployment!
${wud_public_url}/auth/oidc/${auth_name}/cbWUD_PUBLIC_URL environment variable.How to integrate with Authelia
Configure an OpenID Client for WUD in Authelia configuration.yml (see official Authelia documentation)
identity_providers:
  oidc:
    hmac_secret: <a-very-long-string>
    issuer_private_key: |
      -----BEGIN RSA PRIVATE KEY-----
      # <Generate & paste here an RSA private key>
      -----END RSA PRIVATE KEY-----
    access_token_lifespan: 1h
    authorize_code_lifespan: 1m
    id_token_lifespan: 1h
    refresh_token_lifespan: 90m
    clients:
      - client_id: my-wud-client-id
        client_name: WUD openid client
        client_secret: this-is-a-very-secure-secret
        public: false
        authorization_policy: one_factor
        token_endpoint_auth_method: client_secret_post
        audience: []
        scopes:
          - openid
          - profile
          - email
          - groups
        redirect_uris:
          - https://<your_wud_public_domain>/auth/oidc/authelia/cb
        grant_types:
          - refresh_token
          - authorization_code
        response_types:
          - code
        response_modes:
          - form_post
          - query
          - fragment
        userinfo_signing_algorithm: none
Configure WUD
- Docker Compose
- Docker
services:
  whatsupdocker:
    image: getwud/wud
    ...
    environment:
      - WUD_AUTH_OIDC_AUTHELIA_CLIENTID=my-wud-client-id
      - WUD_AUTH_OIDC_AUTHELIA_CLIENTSECRET=this-is-a-very-secure-secret
      - WUD_AUTH_OIDC_AUTHELIA_DISCOVERY=https://<your_authelia_public_domain>/.well-known/openid-configuration
      # Role synchronization from Authelia groups claim:
      - WUD_AUTH_OIDC_AUTHELIA_GROUPSCLAIM=groups
      - WUD_AUTH_OIDC_AUTHELIA_ADMINGROUP=admins # grants WUD admin role
      - WUD_AUTH_OIDC_AUTHELIA_RWGROUP=devs      # grants WUD rw role
docker run \
  -e WUD_AUTH_OIDC_AUTHELIA_CLIENTID="my-wud-client-id" \
  -e WUD_AUTH_OIDC_AUTHELIA_CLIENTSECRET="this-is-a-very-secure-secret" \
  -e WUD_AUTH_OIDC_AUTHELIA_DISCOVERY="https://<your_authelia_public_domain>/.well-known/openid-configuration" \
  -e WUD_AUTH_OIDC_AUTHELIA_GROUPSCLAIM="groups" \
  -e WUD_AUTH_OIDC_AUTHELIA_ADMINGROUP="admins" \
  -e WUD_AUTH_OIDC_AUTHELIA_RWGROUP="devs" \
  ...
  getwud/wud
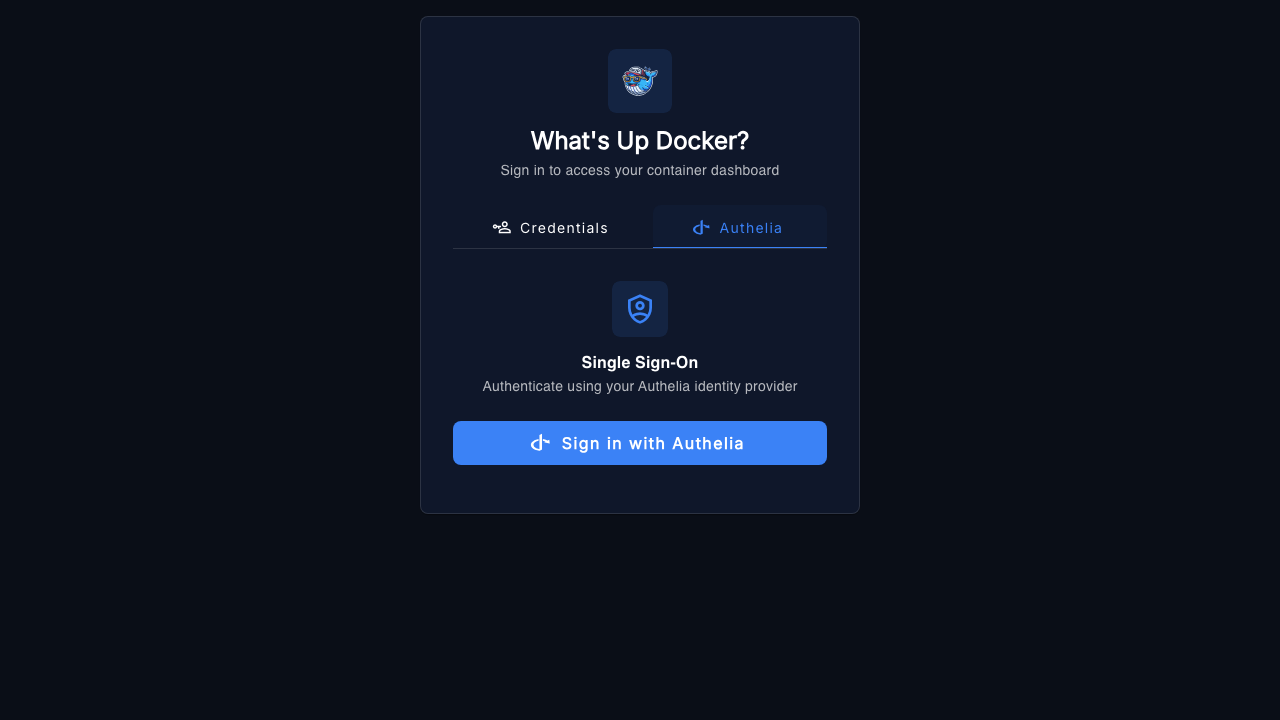
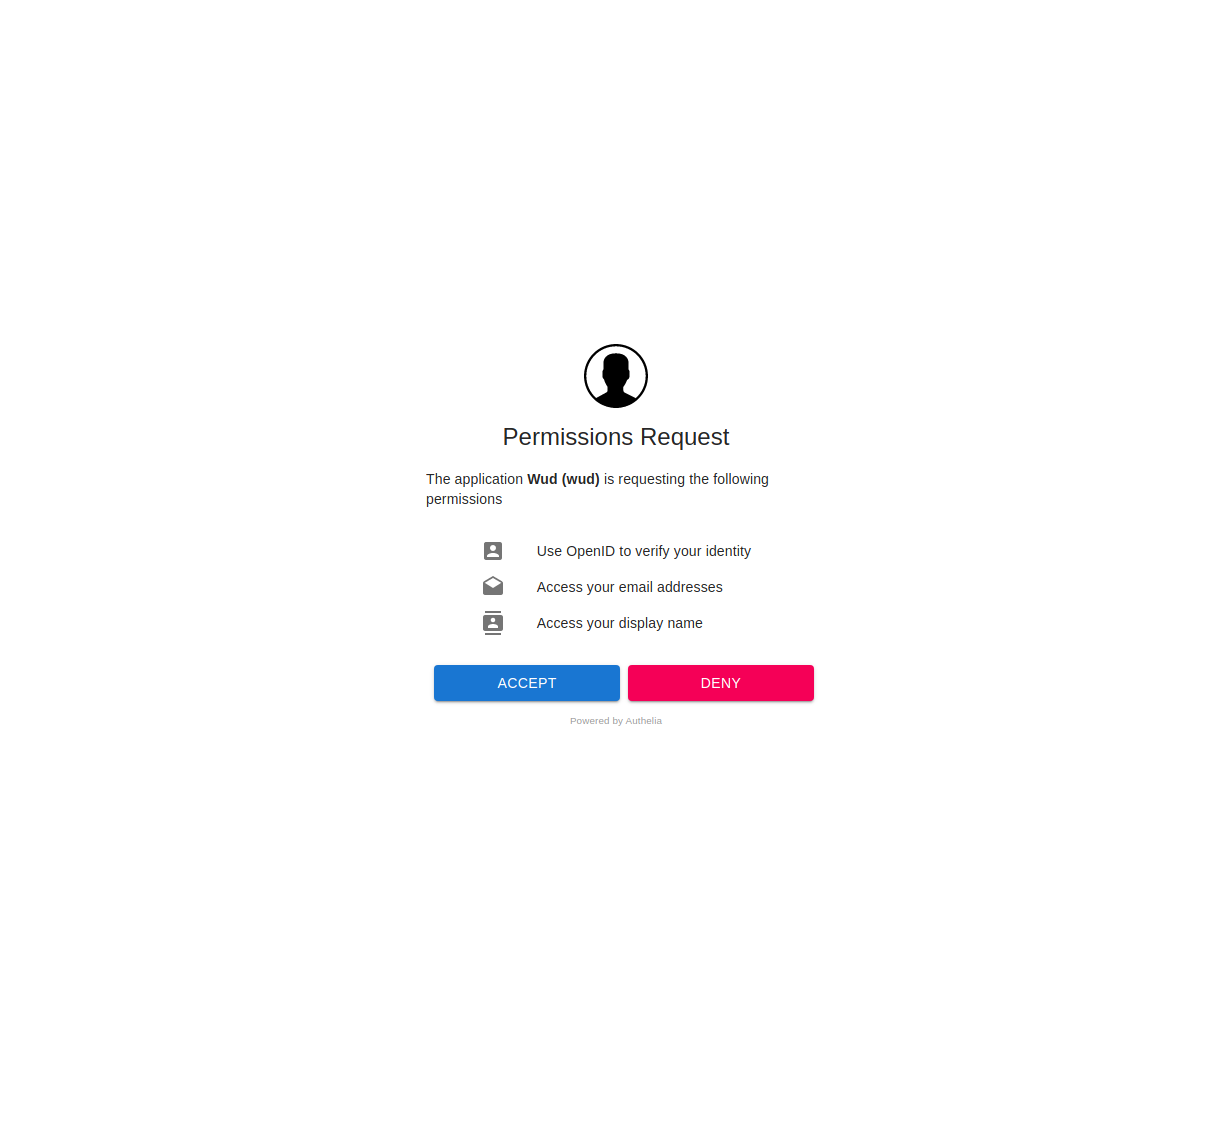
How to integrate with Auth0
Create an application (Regular Web Application)
Allowed Callback URLs:https://<your_wud_public_domain>/auth/oidc/auth0/cb
Configure WUD
- Docker Compose
- Docker
services:
  whatsupdocker:
    image: getwud/wud
    ...
    environment:
      - WUD_AUTH_OIDC_AUTH0_CLIENTID=<paste the Client ID from auth0 application settings>
      - WUD_AUTH_OIDC_AUTH0_CLIENTSECRET=<paste the Client Secret from auth0 application settings>
      - WUD_AUTH_OIDC_AUTH0_DISCOVERY=https://<paste the domain from auth0 application settings>/.well-known/openid-configuration
docker run \
  -e WUD_AUTH_OIDC_AUTH0_CLIENTID="<paste the Client ID from auth0 application settings>" \
  -e WUD_AUTH_OIDC_AUTH0_CLIENTSECRET="<paste the Client Secret from auth0 application settings>" \
  -e WUD_AUTH_OIDC_AUTH0_DISCOVERY="https://<paste the domain from auth0 application settings>/.well-known/openid-configuration" \
  ...
  getwud/wud
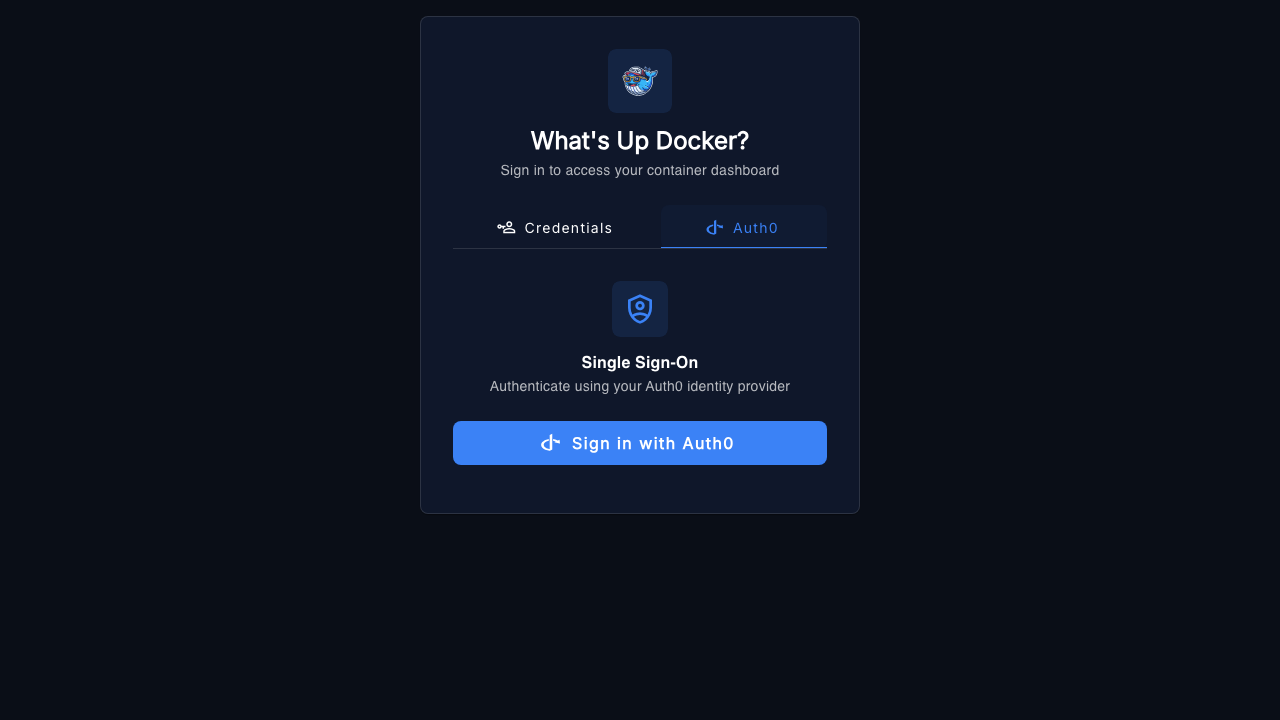
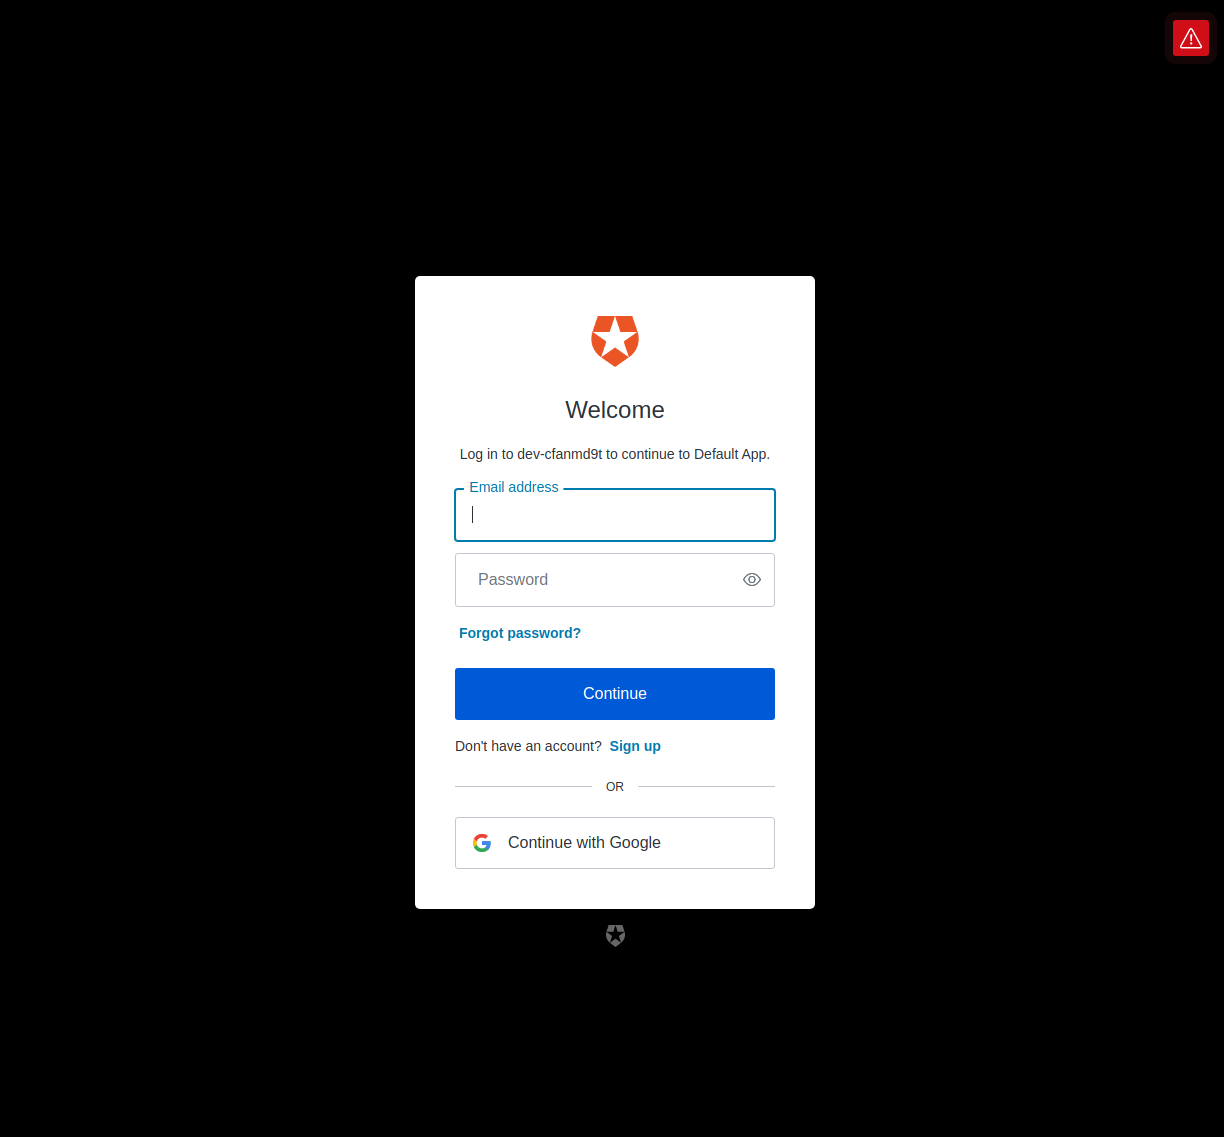
How to integrate with Authentik
In Authentik, create a provider of type OAuth2/OpenID (or configure an existing one)
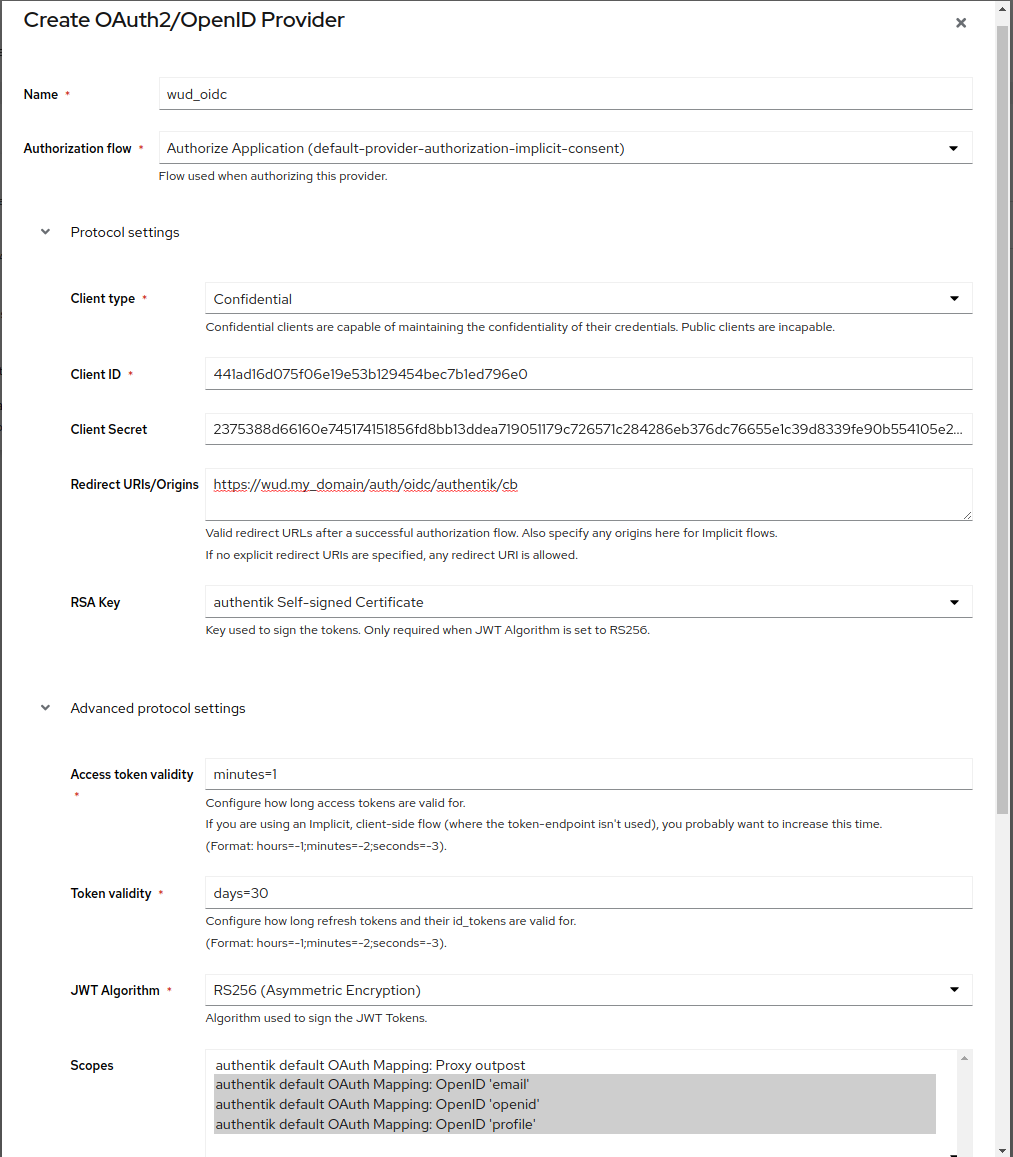
Important settings
- Client Type:
Confidential - Client ID:
<generated value> - Client Secret:
<generated value> - Redirect URIs/Origins:
https://<your_wud_public_domain>/auth/oidc/authentik/cb - Scopes:
email,openid,profile, and ensure theauthentik default OAuth Mapping: OpenID 'groups'mapping (orgroupsscope) is included in Selected Property Mappings.
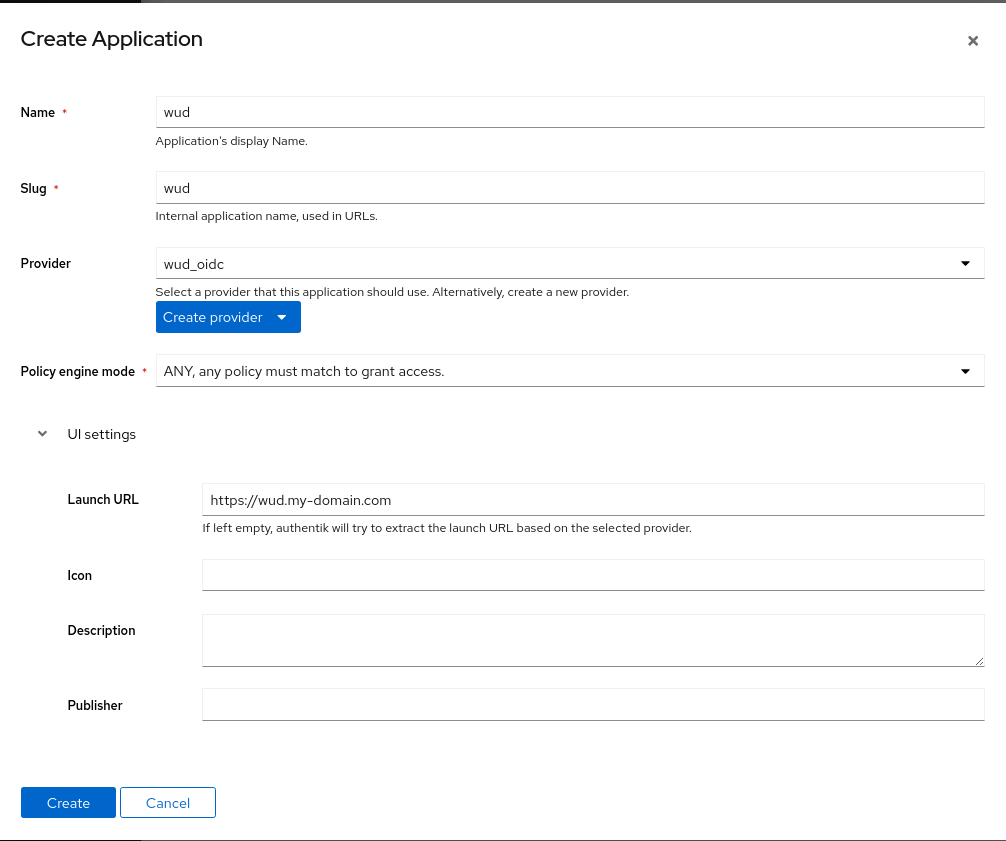
In Authentik, create an application associated with the provider
Configure WUD
- Docker Compose
- Docker
services:
  whatsupdocker:
    image: getwud/wud
    ...
    environment:
      - WUD_AUTH_OIDC_AUTHENTIK_CLIENTID=<paste the Client ID from authentik wud_oidc provider>
      - WUD_AUTH_OIDC_AUTHENTIK_CLIENTSECRET=<paste the Client Secret from authentik wud_oidc provider>
      - WUD_AUTH_OIDC_AUTHENTIK_DISCOVERY=<authentik_url>/application/o/<authentik_application_name>/.well-known/openid-configuration
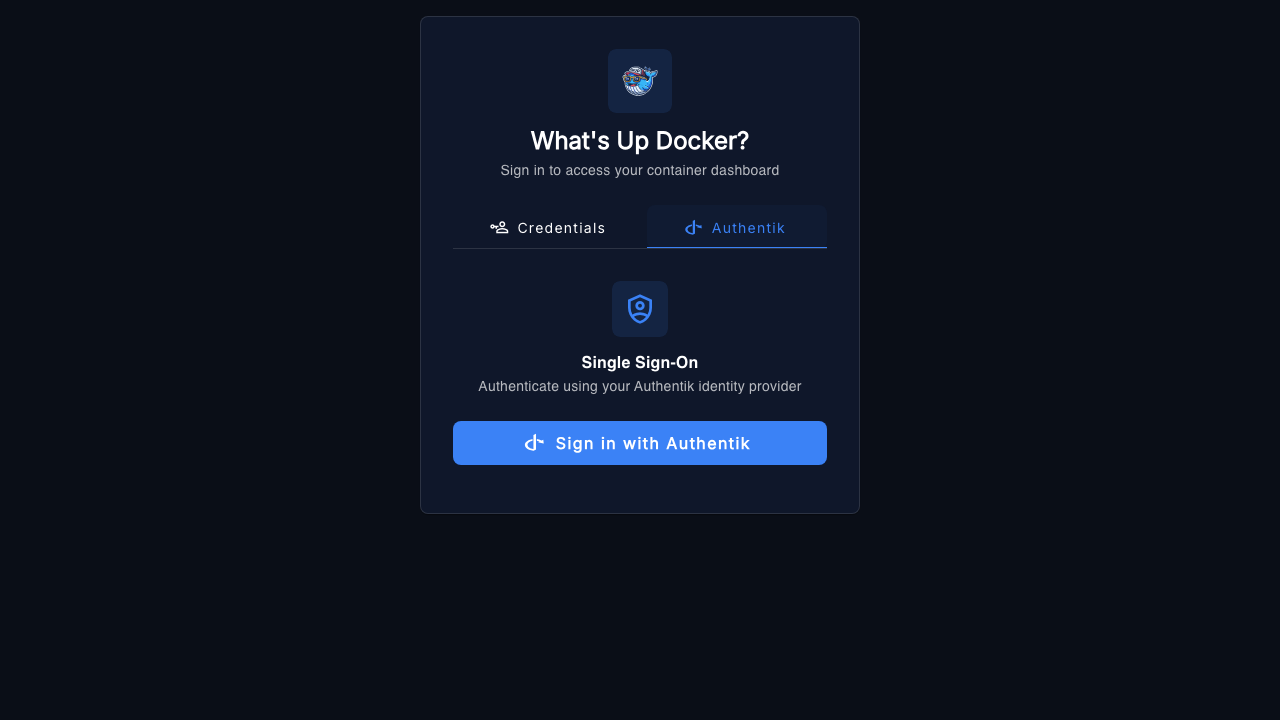
      - WUD_AUTH_OIDC_AUTHENTIK_REDIRECT=true # optional (to skip internal login page)
      # Role synchronization from Authentik groups:
      - WUD_AUTH_OIDC_AUTHENTIK_GROUPSCLAIM=groups
      - WUD_AUTH_OIDC_AUTHENTIK_ADMINGROUP=authentik Admins # or your custom admin group
      - WUD_AUTH_OIDC_AUTHENTIK_RWGROUP=wud-users          # optional rw group
docker run \
  -e WUD_AUTH_OIDC_AUTHENTIK_CLIENTID="<paste the Client ID from authentik wud_oidc provider>" \
  -e WUD_AUTH_OIDC_AUTHENTIK_CLIENTSECRET="<paste the Client Secret from authentik wud_oidc provider>" \
  -e WUD_AUTH_OIDC_AUTHENTIK_DISCOVERY="<authentik_url>/application/o/<authentik_application_name>/.well-known/openid-configuration" \
  -e WUD_AUTH_OIDC_AUTHENTIK_REDIRECT=true \
  -e WUD_AUTH_OIDC_AUTHENTIK_GROUPSCLAIM="groups" \
  -e WUD_AUTH_OIDC_AUTHENTIK_ADMINGROUP="authentik Admins" \
  -e WUD_AUTH_OIDC_AUTHENTIK_RWGROUP="wud-users" \
  ...
  getwud/wud
How to integrate with Keycloak
1. In Keycloak Admin Console, configure a Client
Select your Realm (e.g. master or a dedicated realm like homelab):
- Navigate to Clients > Create client.
- General Settings:
- Client type:
OpenID Connect - Client ID:
wud(or your preferred client identifier) - Name:
What's Up Docker
- Client type:
- Capability config:
- Client authentication:
On(this creates a Confidential client with a client secret) - Authentication flow: Check
Standard flow(Authorization Code Flow)
- Client authentication:
- Login settings:
- Root URL:
https://<your_wud_public_domain> - Home URL:
https://<your_wud_public_domain> - Valid redirect URIs:
https://<your_wud_public_domain>/auth/oidc/keycloak/cb - Valid post logout redirect URIs:
https://<your_wud_public_domain>/* - Web origins:
+(orhttps://<your_wud_public_domain>)
- Root URL:
- Click Save.
2. Retrieve Credentials
Go to the Credentials tab of the created client and copy the Client Secret.
3. Map Groups Claim in Keycloak
To automatically synchronize Keycloak groups with WUD roles:
- Under your
wudClient, navigate to the Client scopes tab. - Click the dedicated client scope (e.g.,
wud-dedicated). - Click Add mapper > By configuration > select Group Membership.
- Configure the mapper:
- Name:
groups - Token Claim Name:
groups - Add to ID token:
On - Add to userinfo:
On - Full group path:
Off(produces simple group names likewud-adminsinstead of/wud-admins)
- Name:
- Click Save.
4. Configure WUD
Keycloak standard discovery URL follows the format:
https://<your_keycloak_domain>/realms/<your_realm>/.well-known/openid-configuration
By default, Keycloak provides preferred_username and email claims. You can customize the username displayed in WUD by setting WUD_AUTH_OIDC_KEYCLOAK_USERNAMECLAIM=preferred_username.
- Docker Compose
- Docker
services:
  whatsupdocker:
    image: getwud/wud
    ...
    environment:
      - WUD_AUTH_OIDC_KEYCLOAK_CLIENTID=wud
      - WUD_AUTH_OIDC_KEYCLOAK_CLIENTSECRET=<paste-your-client-secret>
      - WUD_AUTH_OIDC_KEYCLOAK_DISCOVERY=https://<your_keycloak_domain>/realms/<your_realm>/.well-known/openid-configuration
      - WUD_AUTH_OIDC_KEYCLOAK_USERNAMECLAIM=preferred_username # or email
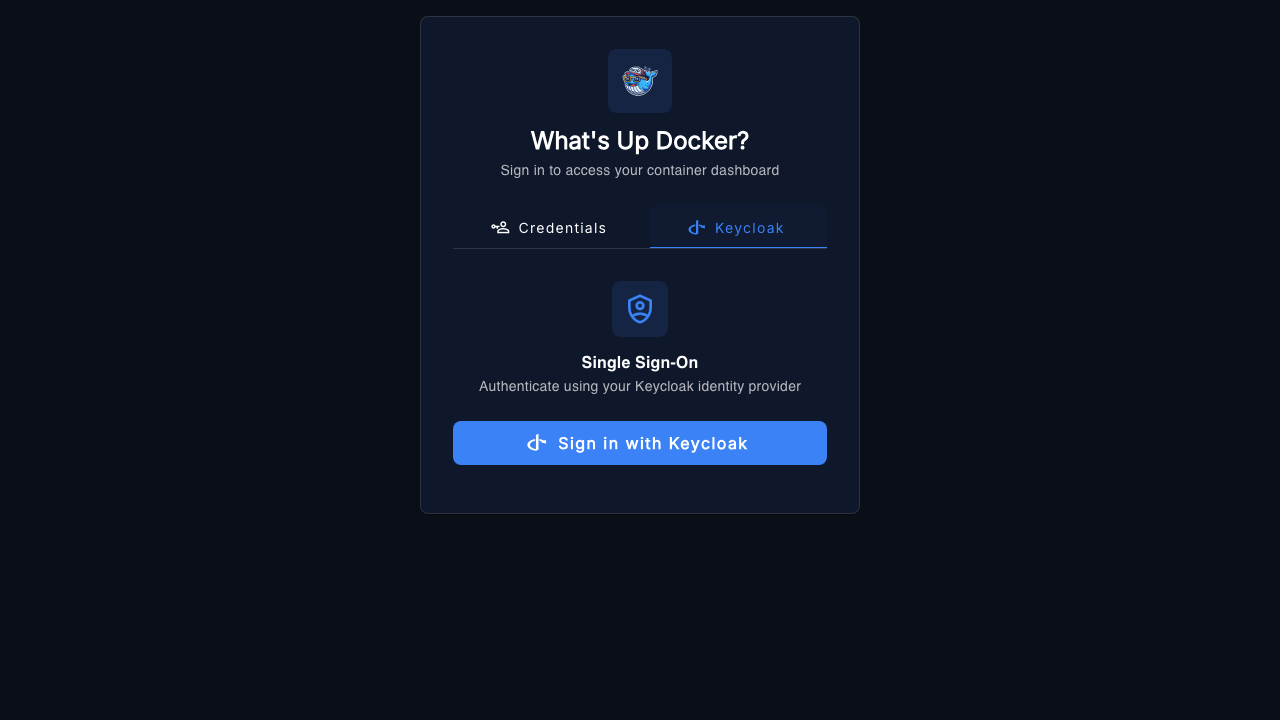
      - WUD_AUTH_OIDC_KEYCLOAK_REDIRECT=true # optional (to skip internal login page)
      # Role synchronization from Keycloak groups:
      - WUD_AUTH_OIDC_KEYCLOAK_GROUPSCLAIM=groups
      - WUD_AUTH_OIDC_KEYCLOAK_ADMINGROUP=wud-admins # grants WUD admin role
      - WUD_AUTH_OIDC_KEYCLOAK_RWGROUP=wud-editors   # grants WUD rw role
docker run \
  -e WUD_AUTH_OIDC_KEYCLOAK_CLIENTID="wud" \
  -e WUD_AUTH_OIDC_KEYCLOAK_CLIENTSECRET="<paste-your-client-secret>" \
  -e WUD_AUTH_OIDC_KEYCLOAK_DISCOVERY="https://<your_keycloak_domain>/realms/<your_realm>/.well-known/openid-configuration" \
  -e WUD_AUTH_OIDC_KEYCLOAK_USERNAMECLAIM="preferred_username" \
  -e WUD_AUTH_OIDC_KEYCLOAK_REDIRECT=true \
  -e WUD_AUTH_OIDC_KEYCLOAK_GROUPSCLAIM="groups" \
  -e WUD_AUTH_OIDC_KEYCLOAK_ADMINGROUP="wud-admins" \
  -e WUD_AUTH_OIDC_KEYCLOAK_RWGROUP="wud-editors" \
  ...
  getwud/wud
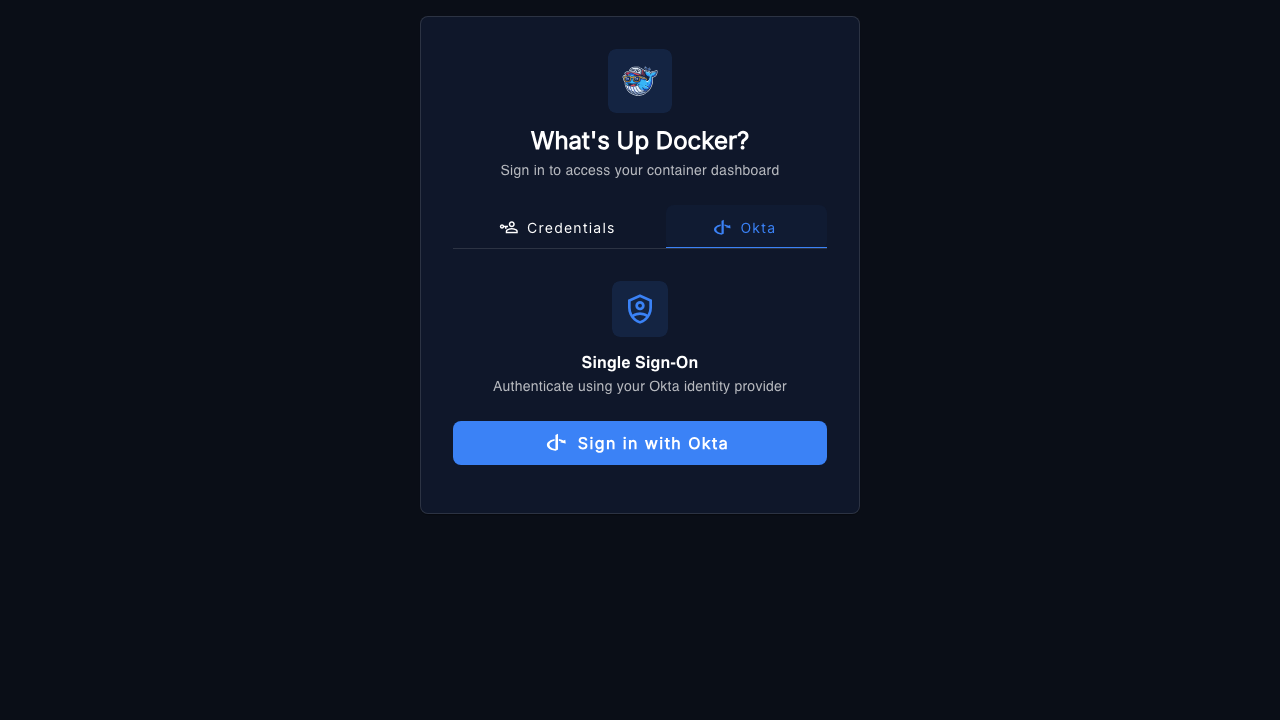
How to integrate with Okta
1. In Okta Admin Console, create an App Integration
- In your Okta Admin dashboard, navigate to Applications > Applications > Create App Integration.
- Select OIDC - OpenID Connect as the Sign-in method.
- Select Web Application as the Application type, then click Next.
- Configure the app settings:
- App integration name:
What's Up Docker - Grant type: Check Authorization Code.
- Sign-in redirect URIs:
https://<your_wud_public_domain>/auth/oidc/okta/cb - Sign-out redirect URIs:
https://<your_wud_public_domain>/ - Assignments: Choose user/group access (e.g. Allow everyone in your organization to access).
- App integration name:
- Click Save.
2. Retrieve Credentials
Under the application's General tab:
- Copy the Client ID.
- Copy the Client Secret under the Client Credentials section.
3. Configure Groups Claim in Okta
To synchronize Okta user groups with WUD roles:
- In your Okta Admin dashboard, navigate to Security > API > Authorization Servers.
- Select your authorization server (e.g.
default). - Under the Claims tab, click Add Claim:
- Name:
groups - Include in token type:
ID Token/Always - Value type:
Groups - Filter:
Matches regexwith.*(or your specific group prefix)
- Name:
- Click Create.
4. Configure WUD
- For Okta API Access Management / Custom Authorization Server, the discovery URL is:
https://<your-okta-domain>/oauth2/default/.well-known/openid-configuration - For an Okta Org Authorization Server, the discovery URL is:
https://<your-okta-domain>/.well-known/openid-configuration
- Docker Compose
- Docker
services:
  whatsupdocker:
    image: getwud/wud
    ...
    environment:
      - WUD_AUTH_OIDC_OKTA_CLIENTID=<paste-your-client-id>
      - WUD_AUTH_OIDC_OKTA_CLIENTSECRET=<paste-your-client-secret>
      - WUD_AUTH_OIDC_OKTA_DISCOVERY=https://<your-okta-domain>/oauth2/default/.well-known/openid-configuration
      - WUD_AUTH_OIDC_OKTA_USERNAMECLAIM=email
      # Role synchronization from Okta groups:
      - WUD_AUTH_OIDC_OKTA_GROUPSCLAIM=groups
      - WUD_AUTH_OIDC_OKTA_ADMINGROUP=wud-admins # grants WUD admin role
      - WUD_AUTH_OIDC_OKTA_RWGROUP=wud-users     # grants WUD rw role
docker run \
  -e WUD_AUTH_OIDC_OKTA_CLIENTID="<paste-your-client-id>" \
  -e WUD_AUTH_OIDC_OKTA_CLIENTSECRET="<paste-your-client-secret>" \
  -e WUD_AUTH_OIDC_OKTA_DISCOVERY="https://<your-okta-domain>/oauth2/default/.well-known/openid-configuration" \
  -e WUD_AUTH_OIDC_OKTA_USERNAMECLAIM="email" \
  -e WUD_AUTH_OIDC_OKTA_GROUPSCLAIM="groups" \
  -e WUD_AUTH_OIDC_OKTA_ADMINGROUP="wud-admins" \
  -e WUD_AUTH_OIDC_OKTA_RWGROUP="wud-users" \
  ...
  getwud/wud
Other OIDC Providers
Because WUD strictly adheres to OpenID Connect discovery specifications, you can connect any other compliant provider by pointing to its discovery endpoint.
| Provider | Discovery Endpoint Format | Suggested USERNAMECLAIM | Callback URI Format |
|---|---|---|---|
https://accounts.google.com/.well-known/openid-configuration | email | https://<wud-domain>/auth/oidc/google/cb | |
| Microsoft Entra ID (Azure AD) | https://login.microsoftonline.com/<tenant-id>/v2.0/.well-known/openid-configuration | preferred_username or email | https://<wud-domain>/auth/oidc/entra/cb |
| GitLab | https://gitlab.com/.well-known/openid-configuration | email or nickname | https://<wud-domain>/auth/oidc/gitlab/cb |
| Zitadel | https://<your-instance>.zitadel.cloud/.well-known/openid-configuration | preferred_username or email | https://<wud-domain>/auth/oidc/zitadel/cb |
| PocketID | https://<your-pocket-id-domain>/.well-known/openid-configuration | username or email | https://<wud-domain>/auth/oidc/pocketid/cb |
| Kanidm | https://<your-kanidm-domain>/oauth2/openid/<client_id>/.well-known/openid-configuration | preferred_username | https://<wud-domain>/auth/oidc/kanidm/cb |
Example: Microsoft Entra ID (Azure AD) with Security Groups
In the Azure Portal under your App registration > Token configuration, click Add groups claim (select Security groups). In WUD, configure:
environment:
  - WUD_AUTH_OIDC_ENTRA_CLIENTID=<azure-app-client-id>
  - WUD_AUTH_OIDC_ENTRA_CLIENTSECRET=<azure-app-client-secret>
  - WUD_AUTH_OIDC_ENTRA_DISCOVERY=https://login.microsoftonline.com/<tenant-id>/v2.0/.well-known/openid-configuration
  - WUD_AUTH_OIDC_ENTRA_USERNAMECLAIM=preferred_username
  - WUD_AUTH_OIDC_ENTRA_GROUPSCLAIM=groups
  - WUD_AUTH_OIDC_ENTRA_ADMINGROUP=<admin-group-object-id>
  - WUD_AUTH_OIDC_ENTRA_RWGROUP=<rw-group-object-id>